Table of Contents
Introduction to DIY Real Estate Videography
In the dynamic world of real estate, standing out in a sea of listings is crucial. Videography emerges as a powerful tool, offering a vivid and engaging way to showcase properties. With the advent of user-friendly technology, DIY real estate videography has become an accessible option for sellers. By harnessing the power of video, sellers can offer potential buyers a unique and immersive viewing experience, elevating their property above the competition. This guide aims to equip you with essential tips and tricks to master DIY videography, ensuring your property shines in the digital marketplace.
Section 1: Preparing for Your Shoot
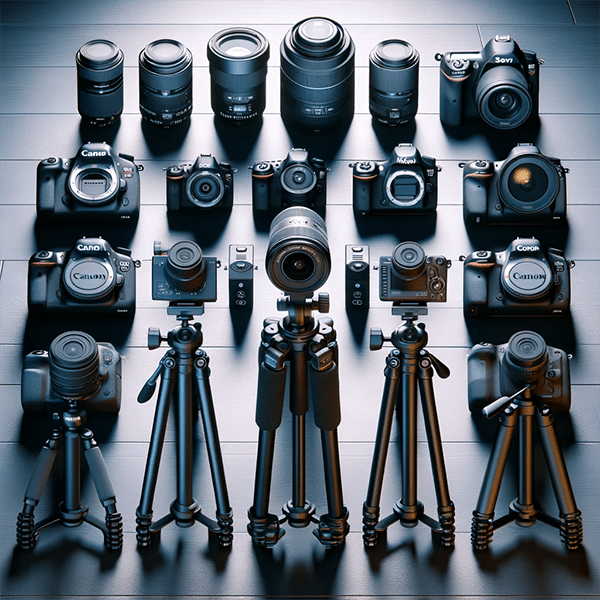
- Choosing the Right Equipment: The foundation of great videography lies in selecting the right camera. For those new to videography, DSLRs offer a perfect blend of quality and usability. Recommended models include:
- Canon EOS Rebel T7i: A user-friendly DSLR that excels in image quality and ease of use, ideal for beginners.
- Nikon D5600: Known for its lightweight design and articulating touchscreen, it’s excellent for long shooting sessions.
- Sony Alpha a6000: A compact mirrorless option that rivals DSLRs in image quality, with fast autofocus and versatility.
- Canon EOS 80D: For those looking for advanced features, this model offers robust build quality and superior autofocus.
- Nikon D7500: A perfect choice for experienced users, combining speed, quality, and 4K video capabilities. Accompany your chosen camera with a sturdy tripod to ensure stable and professional-looking shots.
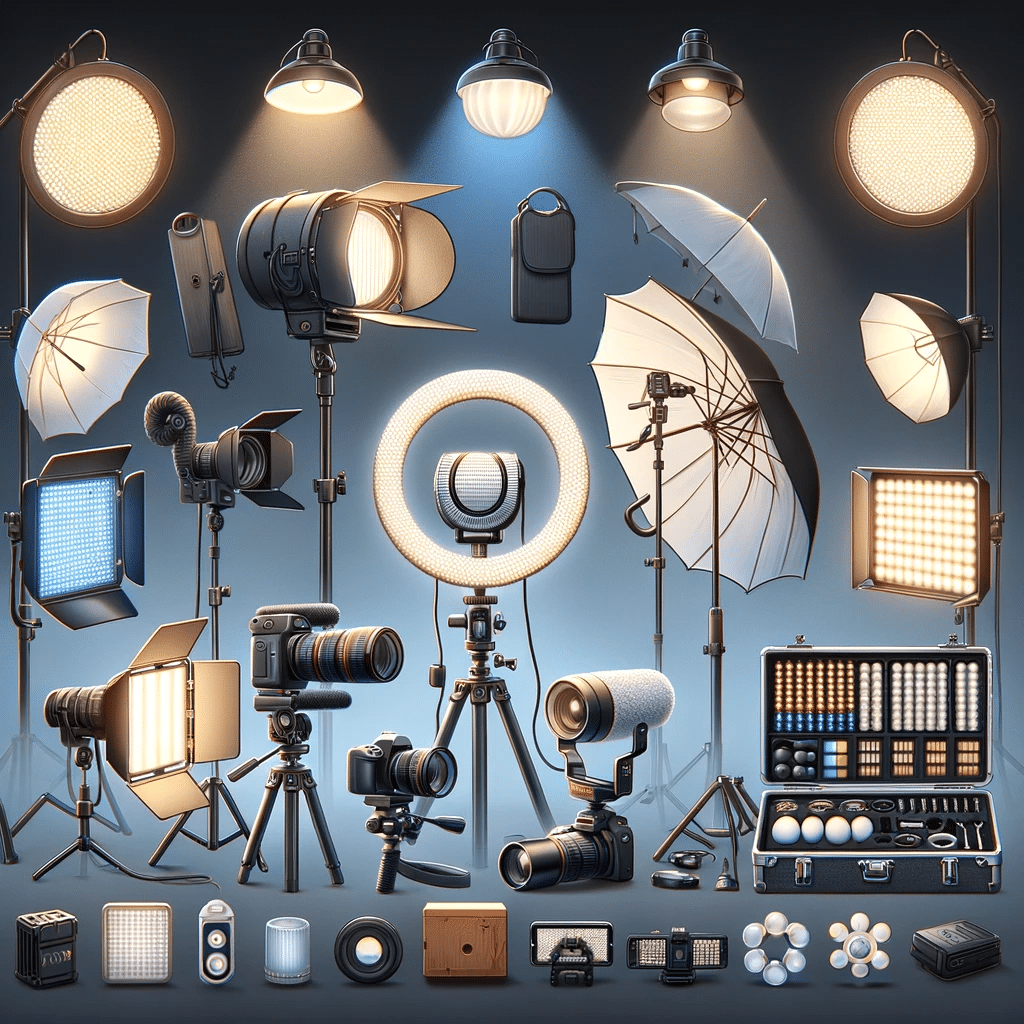
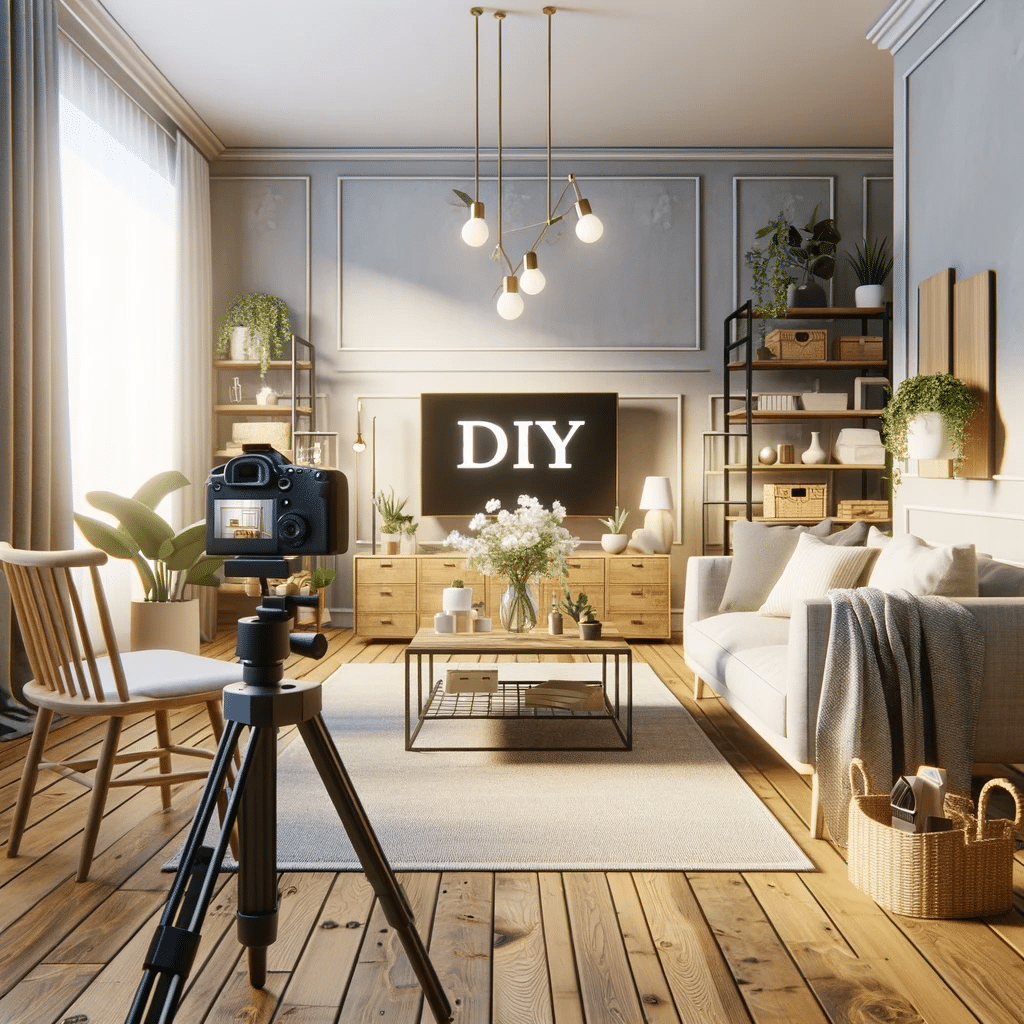
- Understanding Lighting: Lighting can make or break your video. Aim to shoot in abundant natural light, preferably during the day. Open curtains and let sunlight illuminate your interiors. Avoid harsh shadows and overly bright areas. If needed, supplement with soft, artificial lighting to evenly light up darker corners. When selecting lighting equipment, it’s important to consider the size of the spaces you’ll be shooting and the type of atmosphere you want to create in your videos.
- Ring Light Kit: Ring lights provide even, soft lighting that minimizes shadows. They are particularly useful for smaller spaces or detail shots. Many ring light kits come with adjustable stands and different color temperature settings. They are ideal for ensuring consistent lighting, especially in areas that may not receive sufficient natural light.
- Softbox Light Kit: Softbox lights are great for diffusing light and reducing harsh shadows. A typical kit includes one or two softbox units on adjustable stands, making it easy to position them as needed. They are excellent for lighting larger rooms uniformly.
- LED Panel Lights: Compact and versatile, LED panel lights offer adjustable brightness and color temperature. They can be mounted on light stands or placed strategically in a room to highlight specific features or brighten darker areas. Their portability makes them suitable for moving around various rooms during a shoot.
- Umbrella Lighting Kit: Umbrella lights are a classic choice for soft, diffused lighting. They are relatively inexpensive and easy to set up. A typical kit includes a couple of umbrella reflectors, light bulbs, and stands. They are good for general room lighting and creating a warm, inviting ambiance.
- Portable On-Camera Light: For added flexibility, a portable on-camera light can be useful. These small LED lights mount directly on your camera or tripod and provide additional light exactly where your camera is pointing. They are particularly handy for shooting in tight spaces or providing a bit of extra light for detail shots.
- Staging Your Property: First impressions matter. Clean and declutter your space, removing personal items to create a neutral but inviting atmosphere. Arrange furniture to highlight space and functionality. Adding elements like plants or fresh flowers can infuse life into your rooms, making them more appealing in the video.
Section 2: Shooting Your Real Estate Video
Crafting the visual story of your property is an art form where every frame counts. This section merges essential aspects of shooting your real estate video with advanced techniques. From planning with a storyboard to utilizing both fundamental and sophisticated shooting methods, each step is vital. These enhanced tips aim to help you create a visually appealing and coherent video that captures the essence of your property and entices potential buyers.
- Creating a Storyboard: A well-planned storyboard is essential for a successful video shoot. Whether it’s a simple sketch on a napkin or a more polished plan using online services like Storyboard That, Canva, or Boords, your storyboard should outline the key shots and sequence for filming your property. Begin with an exterior view, then lead the viewer through the main entrance, guiding them room by room, and conclude with any special outdoor spaces. This approach ensures a logical and appealing flow in your video.
- Mastering Shooting Techniques:
- Composition with the Rule of Thirds: Use the rule of thirds for balanced compositions, placing key elements along imaginary lines that divide the frame into thirds. This technique helps create a natural and engaging visual appeal.
- Steady Footage with Ninja Walk: Instead of using a tripod, which can be limiting, employ the “ninja walk” for steady-moving shots. Walk with knees slightly bent and roll from heel to toe to minimize camera shake.
- Utilizing a Gimbal: For smoother footage, consider using a gimbal like the DJI Ronin-SC, Zhiyun Crane M3, or Moza AirCross 2 for DSLR or mirrorless cameras and the DJI Osmo Mobile 6 for smartphones. These devices provide stability and fluid motion, essential for dynamic interior shots.
- Varied Shot Types: Incorporate a mix of wide and tight shots. Wide shots show the spaciousness of an area, while tight shots focus on details. This variety ensures a comprehensive showcase of the property.
- Slow and Smooth Pans: Employ slow, steady pans to guide viewers through each space, creating a sense of the property’s layout and flow.
- Highlighting Key Features: Concentrate on unique aspects of your property. Whether it’s an elegantly designed kitchen, breathtaking views, or intricate architectural details, light these areas well and capture them from multiple perspectives. Dedicate time to these key features to attract potential buyers and emphasize what sets your property apart.
By integrating advanced shooting techniques and practical tips, this section provides a detailed roadmap for creating a compelling and professional real estate video. The inclusion of specific equipment recommendations and shooting strategies ensures even novices can produce high-quality results.
Section 3: Real Estate Video Post Production
Post-production is where the raw footage is transformed into a captivating narrative. This phase is as critical as the actual shooting, as it’s where you fine-tune your content to resonate with potential buyers. Let’s delve deeper into the techniques that can elevate your real estate video from good to great.
- Optimizing for Online Platforms: Different platforms have different requirements and best practices. For example, YouTube is ideal for longer, more detailed videos, while Instagram or Facebook may favor shorter, more engaging clips. Ensure your video’s format and resolution align with each platform’s guidelines. Use keywords in your video’s title and description for better SEO on platforms like YouTube.
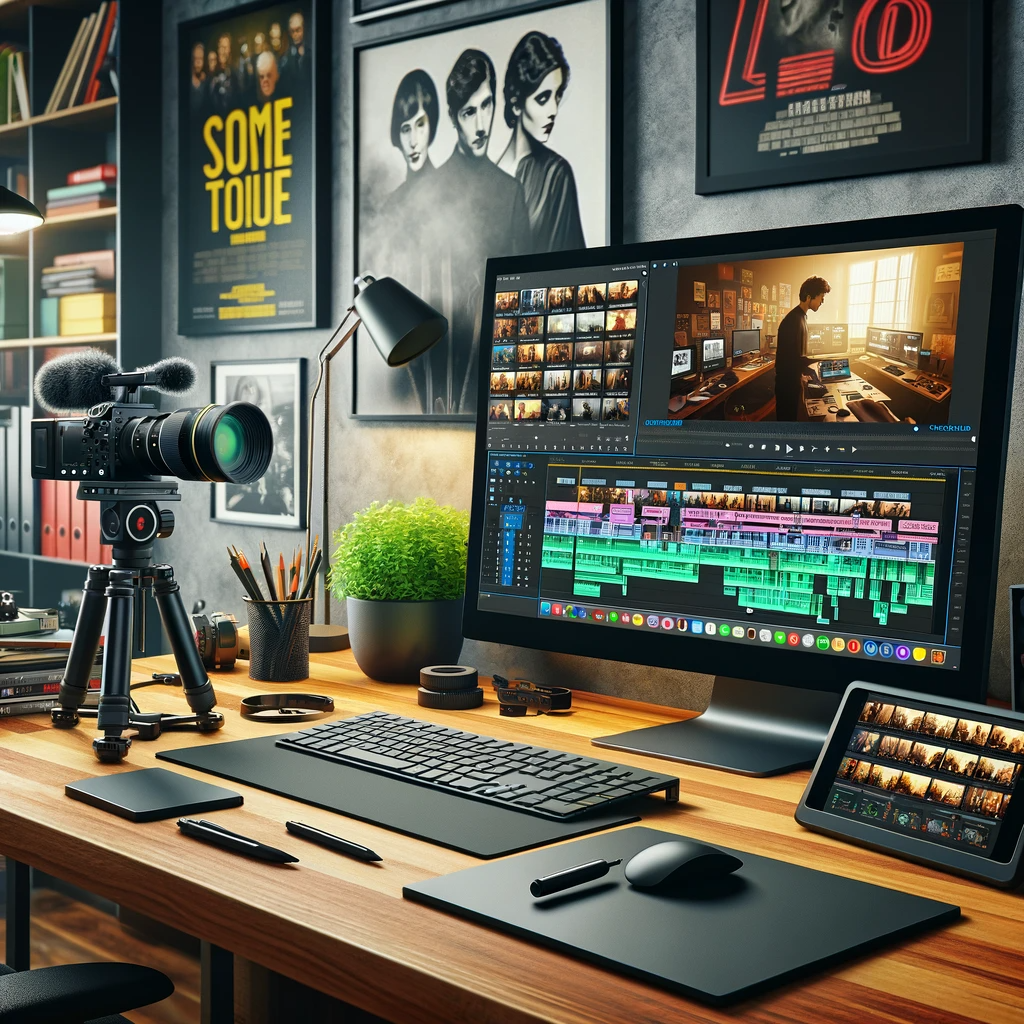
- Editing Your Footage: The first step is selecting an editing tool that matches your skill level. For beginners, iMovie or Windows Movie Maker offers simplicity and basic editing features. More advanced users might prefer Adobe Premiere Pro or Final Cut Pro for their extensive capabilities. Start by organizing and trimming your footage to match the storyboard. Focus on maintaining a smooth and logical flow, ensuring each scene transitions seamlessly into the next.
- Color Grading and Correction: This step is about creating the right visual mood and consistency throughout your video. Adjust the colors to make them appear more vibrant and true-to-life. Color grading can help set a certain tone or atmosphere, which is particularly useful in showcasing the warmth and comfort of a home.
- Adding Music and Voiceovers: Select a background track that complements the visual content without overwhelming it. Instrumental music often works best as it doesn’t clash with voiceovers. For the voiceover, ensure clear and concise narration that highlights the property’s features. This narration can significantly enhance the storytelling aspect of your video.
- Sound Effects and Ambient Sounds: Adding subtle sound effects or ambient sounds can make the video more immersive. For instance, gentle background music paired with the sound of birds chirping can make a garden scene more appealing.
- Incorporating Text and Graphics: Use text overlays to highlight key features or add additional information about the property, like square footage or unique amenities. Keep the text minimal and readable. Simple graphics or icons can also be used to draw attention to specific features.
- Final Touches and Optimization: Ensure your video is polished by checking for any final edits or adjustments. This includes final color adjustments, ensuring audio levels are consistent, and that text is correctly aligned. Lastly, optimize the video for web viewing. It should be high enough quality to look professional yet compressed for efficient streaming.
Section 4: Sharing Your Real Estate Video
Once your video is polished and ready, the next crucial step is sharing it with the world. This section will guide you through optimizing your video for various online platforms, ensuring it reaches your target audience and enhances your property’s visibility.
- Optimizing for Online Platforms: Different platforms have different requirements and best practices. For example, YouTube is ideal for longer, more detailed videos, while Instagram or Facebook may favor shorter, more engaging clips. Ensure your video’s format and resolution align with each platform’s guidelines. Use keywords in your video’s title and description for better SEO on platforms like YouTube.
- Integrating Video in Online Listings: When adding your video to online real estate listings, make sure it’s prominently featured and easy to access. Embed the video near the top of the listing and include a captivating thumbnail to encourage clicks. The video should complement the text and images in your listing, providing a fuller picture of the property.
- Utilizing Social Media: Share your video on various social media platforms to reach a broader audience. Tailor your post’s message to each platform’s audience – a more formal approach might work for LinkedIn, while a casual tone could be better for Facebook or Instagram. Engage with your audience by responding to comments and questions.
- Email Marketing: If you have a mailing list of potential buyers or real estate agents, include your video in an email blast. A well-crafted email with an engaging subject line and a direct link to the video can drive additional traffic to your listing.
- Leveraging Real Estate Websites and Blogs: Collaborate with local real estate websites and blogs to feature your video. This can significantly extend your reach and add credibility to your listing.
- Monitoring and Engaging: After sharing your video, monitor its performance. Use analytics tools to track views, engagement, and click-through rates. Responding to comments and inquiries not only fosters engagement but also boosts the video’s visibility through increased activity
Conclusion
Embarking on the journey of DIY real estate videography can be both exciting and rewarding. Throughout this guide, we’ve explored the various facets of creating an engaging and professional-looking property video, from preparing and shooting to post-production and effective sharing strategies.
The power of a well-crafted video in the real estate market cannot be overstated. It transcends the limitations of photos and text, offering potential buyers a dynamic and immersive experience. By showcasing your property through video, you’re not just selling a space; you’re conveying a lifestyle and a dream.
Remember, the key to success in DIY videography lies in planning, creativity, and attention to detail. Whether it’s capturing the golden light of dawn across your living room or highlighting the unique architecture of your property, every element contributes to telling the story of your home.
As you embark on this creative endeavor, embrace the process, experiment with different techniques, and most importantly, have fun with it. Your passion and effort will shine through in the final product, captivating potential buyers and bringing you one step closer to a successful sale.
With the tips and tricks outlined in this guide, you’re now equipped to create a compelling video that showcases the best of your property. So grab your camera, let your creativity flow, and start filming. The perfect buyer for your home is just a play button away. If you would like to inquire about our professional real estate video services, please contact us today.